The Making of the Cloud Enhancement Pack - Part 2
In January 2023, two important things occurred which transformed this project from being one of the many new features of SWEP 2.0 to a whole pack of its own, and possibly one of the biggest undertakings to date in an Armstrong Powerhouse product. Firstly, discovering how to extend the scope of the pack beyond the original plan of 12 unique cloud layers. Secondly, that there is a more efficient and effective way of photographing clouds than constantly driving out 5 minutes to a cold and windy field.
Whilst I had settled on the
12 layers as the most realistic prospect, I did often wonder whether they could
be an extension to this at a later date via a sophisticated installer or
program which allows the user to select the cloud layer they wish to use before
loading the simulator. There was always a nagging feeling though that this was
simply too complex and cumbersome for most people to bother with. What was
required was a method within the simulator itself to select the cloud of
choice.
Most things are pretty much
hardcoded in Train Simulator and cloud layers are one of them. There are only
three and that is that but one area where customisation is possible is the use
of lua script. This is a programming language which effectively allows a
developer to provide additional functionality on top of Train Simulator’s base
code. For it to be useable though, the base code needs to provide a way of
activating it. This is available in only three areas of the simulator; rolling
stock, signalling and when you first load the simulator. Rather handily, you
can place signals as a scenario specific object which activate upon loading a
scenario, most importantly, before the textures are loaded into the scene.
Through this line of thinking, I then discovered a function within lua code
which allows the execution of a command line. which in turn, allows files to be
moved on the user’s computer. A few tests later and I confirmed that through
the use of a scenario specific object, now known as the ‘AP SWEP Weather’
track marker, a custom cloud layer can be selected on a scenario specific
basis. To summarise, this meant that the limitation of the same cloud layer
showing whenever you use fair cloud in summer for example was gone. The
scenario creator could potentially choose from tens, if not hundreds, of
different cloud layers from a manual and/or online image gallery, input the
relevant code into the track marker and that fair cloud variant would appear.
In addition, for those who
perhaps aren’t as keen on scenario creation but still wish to have some variety
in their Quick Drives or scenarios that haven’t been set up to use a specific
cloud layer, the ability to run a lua script upon the simulator loading means
that a random cloud layer can be chosen every time the simulator loads. No
longer would you get tired of seeing the same overcast sky for example as it
will now change every time you load the simulator.
This was the key moment the
Cloud Enhancement Pack was born. I embarked on a mission to capture a huge
photographic library of cloudscapes to represent different weather, seasons. times
of day or simply just to give more variety. There was one problem though, after
17 separate trips to that muddy field, it was becoming rather laborious and I
couldn’t possibly keep doing that if I was to capture the number of photographs
required for such an ambitious project.
On that 17th
trip, I made my way back to the car and just as I was opening the door, heard
an almighty crash behind me. Where I was parked up was in a layby just off a
busy B road and someone had stopped abruptly to turn right up a country lane,
causing three cars behind to pile up. Thankfully, all involved were not
seriously hurt but they were obviously in shock and some had whiplash. It
spooked me a little too as it all needed was for one of those cars to swerve
into the layby to try and avoid the crash and I may have been directly
involved. Being close to something like this was the last straw, surely there
was a better way than driving to this spot. I racked my brain and had a
lightbulb moment. You may remember previously that I said the best possible
location to do this would be on top of a hill with an uninterrupted 360 degree
view of the horizon, a similar view to what you’d see from a plane or
helicopter for example and then it came to me, what about a drone?
I quickly made my way to
the PC to answer the questions I had.
1)
I’ve
always thought drones are primarily used for video, are the cameras good enough
on them these days for the purpose of photographing clouds? The answer is
yes, they absolutely are. Whilst not the same quality as the Nikon D750 SLR I’d
been using so far on the ground, a quick look at some sample images showed it
should be good enough.
2)
Can
anyone just buy a drone and become king of the skies or is there a process? Despite
trouble around airports in the early years of drones, the rules brought in
after those incidents are pleasingly sensible/liberal considering you are in
charge of a flying device. All that’s involved is a short online theory test
where you are then issued a flyer and operator ID.
3)
Where
can drones be flown? Could I literally step outside my front door and take off?
Not quite but as long as you are 150m away from buildings and 50m away from people,
you’re good to go. Living in the countryside, this wouldn’t be a problem.
Perfect!
With those three questions
answered, the decision was made and a DJI Mavic 3 Classic was ordered. Equipped
with a wide-angle 24mm lens and the best image quality available for a consumer
drone, I was looking forward to putting it through its paces.
The next day, it arrived and I certainly wasn’t disappointed. The results were streets ahead of what I had been managing in the muddy field. A perfect 360 degree panorama that can be consistently recreated at a moment’s notice. Through the creation of a pre-defined ‘mission’ where the drone takes off to a set height and takes 8 photos at 45 degree intervals, this could all be done at the press of a single button.
 |
| The first panorama taken with the drone. A fairly rare instance of fluffy, cumulus clouds on a winter's day! |
Apart from the convenience though of not having to drive out, what else did
the drone bring to the table?
1)
The
horizon was now almost a perfectly straight line apart from slight undulations in
the surrounding terrain. This drastically reduced the time-consuming method of
removing obstructions on the horizon with photos taken from ground level.
2)
The
photographs were now consistent. The angle at which the camera looked into the
sky was constant so this no longer needed to be corrected for in Photoshop.
3) I was no longer limited to a fixed vantage point which only worked best at a time of day where the sun was directly behind it. The location I had been using to date was broadly fine for the winter but during the longer days of summer where the sun travels further across the sky, it would not be very useable in the morning or afternoon with the sun encroaching too much on the shots.
4)
Some
terrific views could be had of the surrounding area between shots…!
There was just one issue though, and that was the quality of the photos. They were absolutely useable but closer up, there was quite a bit of noise. It was always going to be inevitable after being used to the results of a DSLR but it was a concern. Would the convenience, consistency and ease of use of the drone trump image quality? Fortunately, I didn’t have to consider this trade off for long. After sharing my concerns with a friend, he suggested using a new program called Gigapixel AI. I gave it a bash with not the greatest hopes but it seems the world of AI really is moving along. Whilst not quite recreating the quality of a DSLR, the way it cleaned up the image was more than sufficient for my needs. Result!
By this stage, I was
itching to see the result in-game so went through the usual workflow to get the
image into a workable texture and loaded Train Simulator. The result was decent
but something looked off. Despite applying the photograph to the texture
without any stretching, the result in the simulator looked stretched. After
all, the sky in reality isn’t a spherical dome, well, it kind of is, but a much
larger one than is used in Train Simulator. As a result, the perspective and
proportions of how the clouds sat in the sky looked askew. It was time to
return to the sky dome in Blender to tweak the model. After a few days of frustrating
trial and error, I finally arrived at a point where the sky dome was now
showing the texture broadly in proportion. Hurrah!
 |
| The first drone panorama after conversion into a useable format for Train Simulator |
That was the workflow sorted. It was just a question now of patience and taking the time to send the drone up day after day for the next 5 months to capture the huge variety of clouds that the British Isles have to offer throughout the seasons.
A video showing the process of the drone taking off and taking the 8 required photos for a 360 degree panorama
Overcast skies are the
easiest to do. Without any sun to worry about, you can simply send the drone
up, take a single panorama and bring it back down. You then have a full useable
360 degree panorama to place into a texture.
 |
| Overcast skies over Southampton |
High cloud is a little more involving. Two panoramas are required to create a unique 360 view which doesn’t feel duplicated so the usual process is to send the drone up, take the photos, bring it back down, and then head out 30 to 40 minutes later to capture a second lot. Any shorter gap than that and you risk it looking too similar to the first shots due to the relatively slow-moving nature of high level cloud.
 |
| Wispy high cloud in the south of France |
Fair weather cloud is
without doubt the most time consuming as it is constantly changing. This kind
of cloud is by far the most varied too so capturing this has taken up the bulk
of development time (75% of photos taken are of fair cloud). Unlike high cloud where
you can blend the two panoramas together with relative ease due to its wispy
nature, fair cloud often has more defined edges which makes blending rather
more difficult. As a result, you need more panoramas from the same session to
give you a good chance of having two that stich up well. Using the Mavic 3 Classic’s
battery life to the max, I send it up for approximately 30 minutes at a time,
taking panoramas roughly every 2 to 5 minutes depending on how fast moving the clouds are.
The more the clouds change, the more often I grab a shot. It is then a case of processing the shots to find the right balance between two panoramas which look
sufficiently different to feel unique but also sufficiently similar so they don’t
look too out of place next to each other.
 |
| An awe-inspiring cumulonimbus over the Lincolnshire fens |
By 22nd June
2023 and after 5 months of constantly popping in and out of the house, I had taken
around 10,600 photos. With 8 photos per panorama, that’s around 1,300 panoramas
which have been catalogued and assessed for processing into a Train Simulator
useable sky. I approximate that each panorama involves around 4 minutes of
flying time so with that in mind, around 83 flying hours have been clocked up
during this project.
Out of those 1,300 panoramas,
275 individual cloudscapes have been implemented for use in Train Simulator.
All individually edited using the methods described in this blog. They have
then been categorised accordingly and previews uploaded to our online gallery
at https://armstrongpowerhouse.smugmug.com/
to allow scenario creators to pick which clouds they wish to appear in their
scenario. In addition, on top of a different cloudscape being selected at random
every time you load the simulator, they have also been programmed to appear
according to dynamic weather patterns featured in SWEP 2.0. For example, if
selecting a variable fair cloud weather pattern where the sky is obscured 70%
of the time, a corresponding cloudscape will now appear automatically with approximately 70%
of the sky covered. Or perhaps if the weather is showery, you will now see
billowing shower clouds to indicate this.
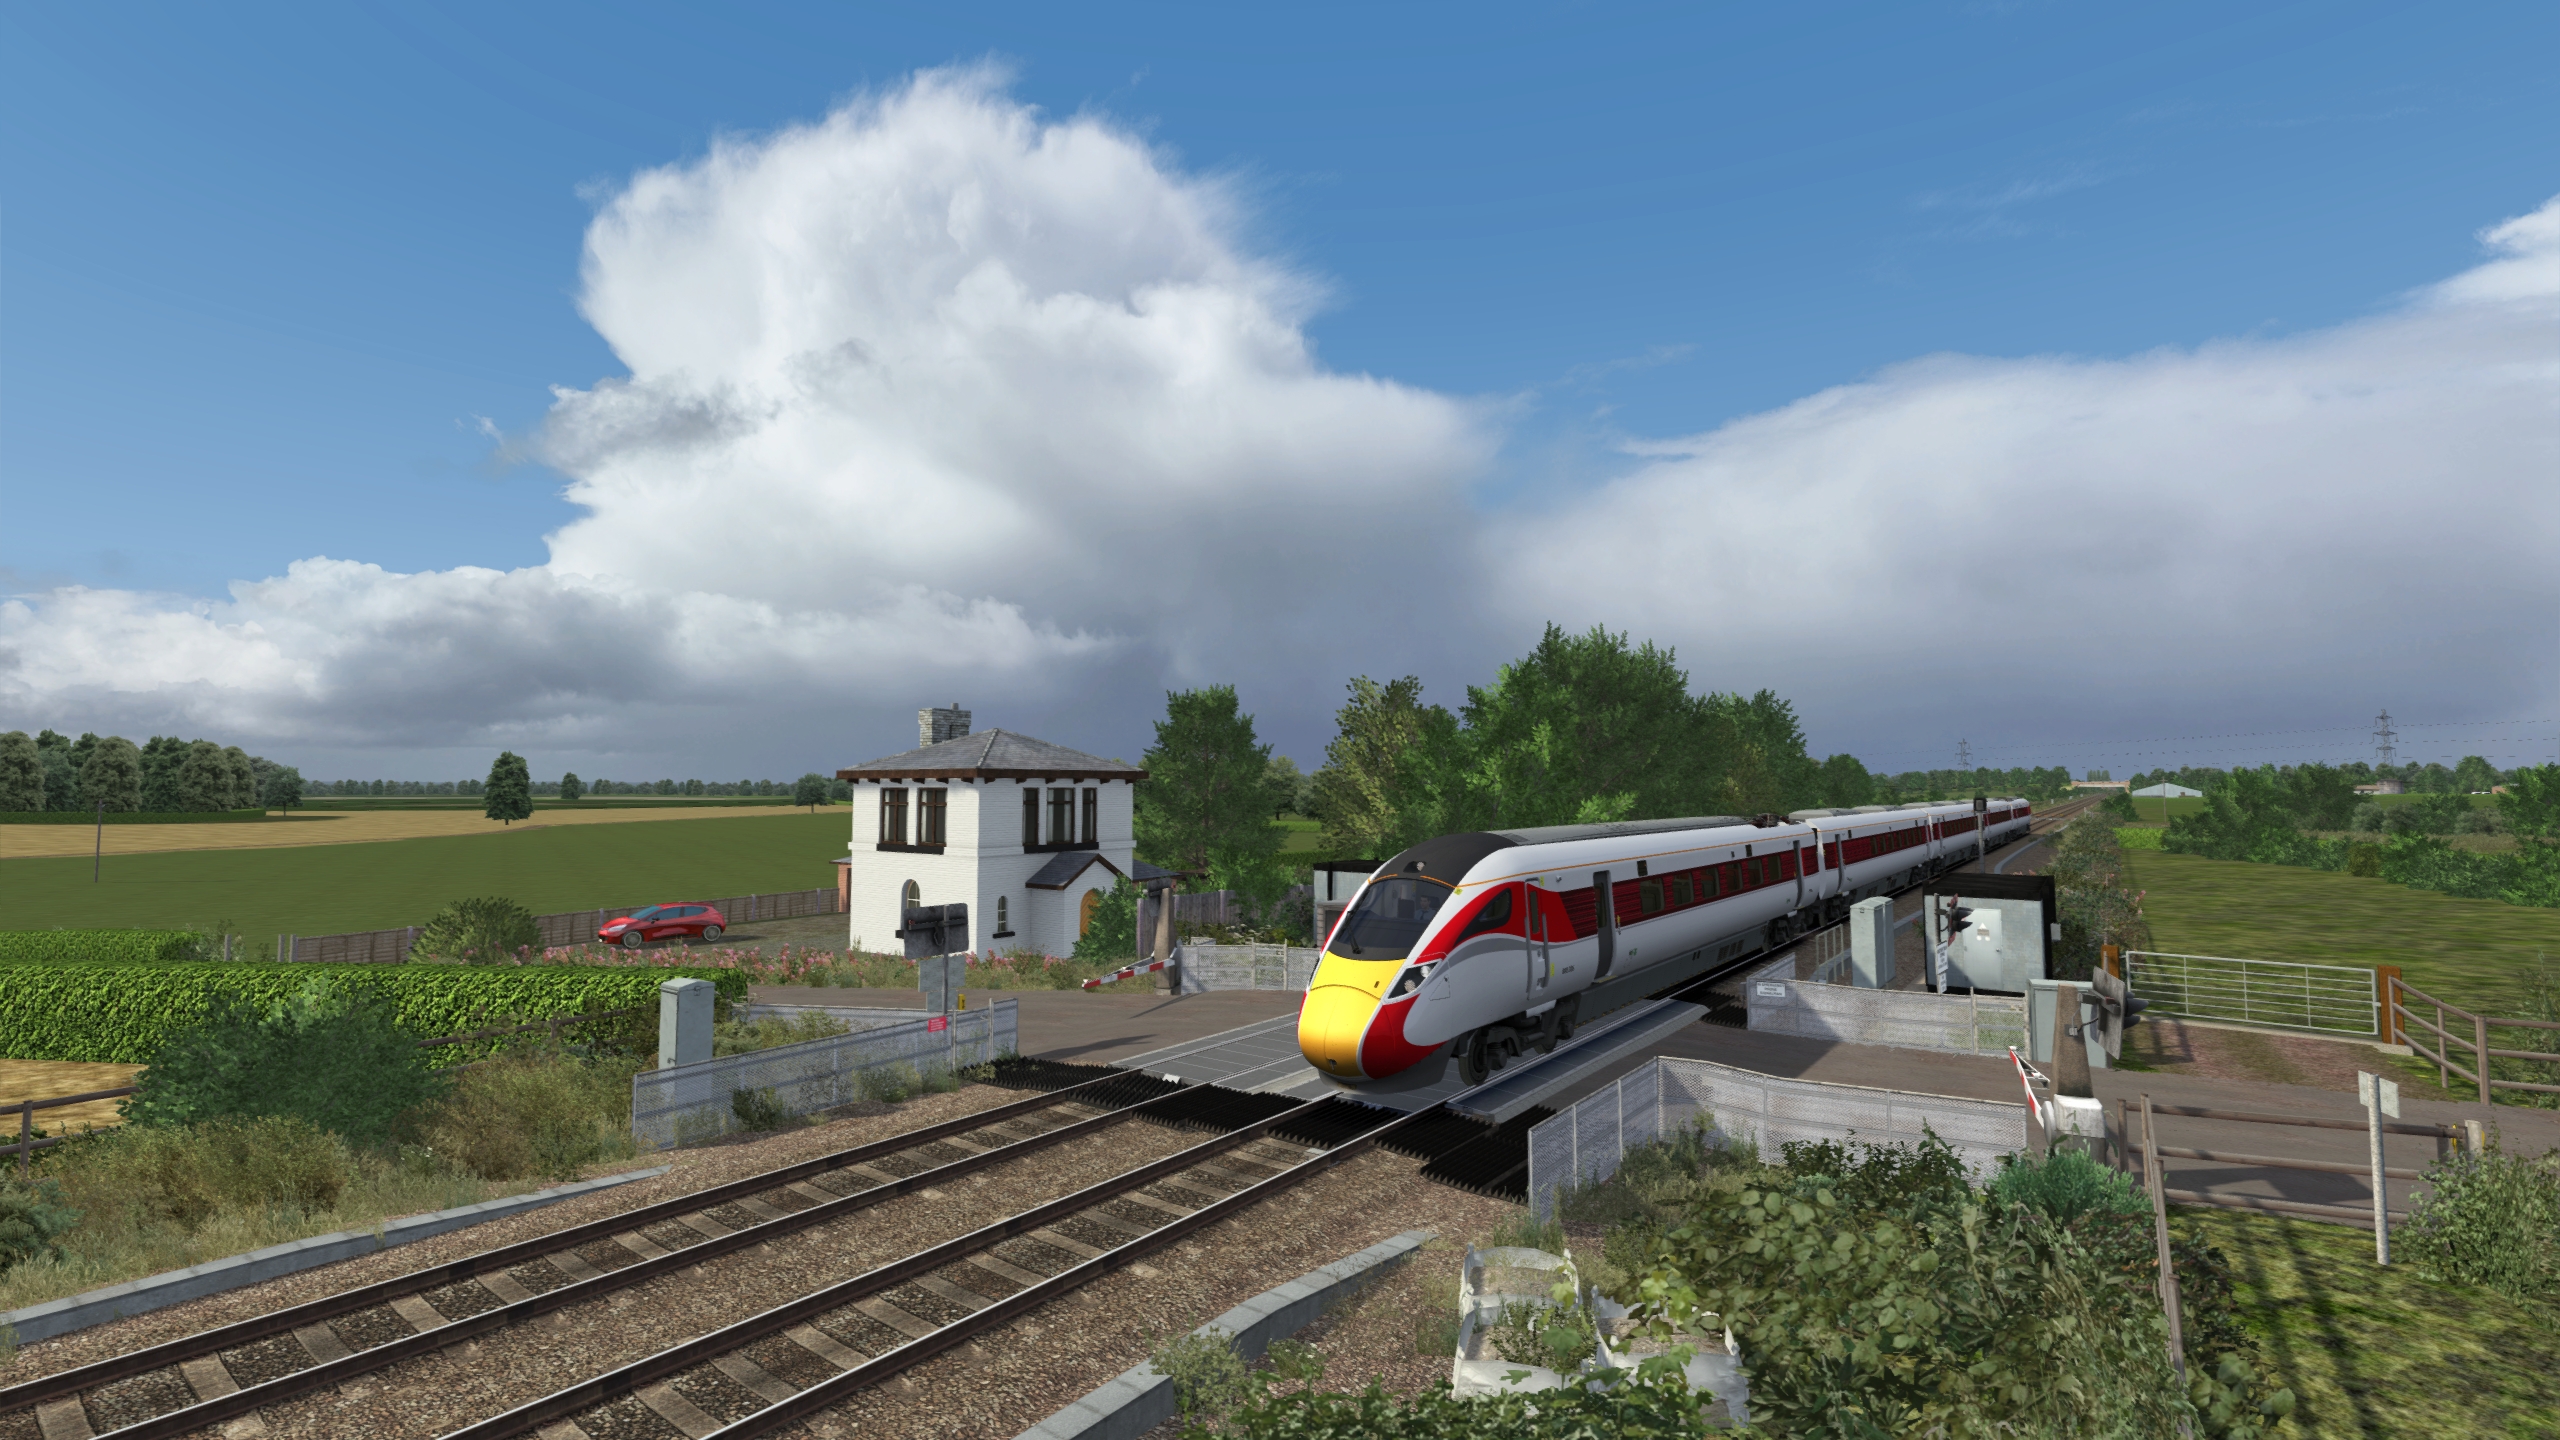
This project has without a
doubt been a labour of love and seeing the final result in the simulator is
enormously satisfying. I believe it’s the biggest single increase in visual immersion
you can obtain from one of our packs and builds on the foundations that the
SWEP 2.0 laid in regard to lighting, mist/fog and dynamic weather. There
is something about seeing such realistic clouds which gives a real boost to
feeling like you are there. To someone like me who has always found weather
interesting, I find they almost tell a story in themselves and can set a scene
nicely for a scenario. Other times, they’re just a pleasure to gawp at as you
trundle along at speed, just like I’ve done many times on board real trains. Adding
our recently released Signal Enhancement Pack into the mix, along with Dovetail
Games’ proposed development of the core engine, we are confident all of these things
breathe new life into Train Simulator Classic and make it fit for use for
many years to come.
What now? Well, back to the
trains of course! Thank you for reading.
Upon release, the Cloud Enhancement Pack will be available from Armstrong Powerhouse at www.armstrongpowerhouse.com/cloud_enhancement_pack.
 |
| Sunset over Willesden Junction |
